Minecraft Gun Mod 16 2 Download
So you've bought Minecraft and spent some time mucking around in a blocky wonderland--and now you want a little more out of the experience. This is where mods come in. Single-Player Modding Installing mods for a single-player client is a somewhat convoluted process.
Aug 19, 2018 Download Gun Mod: Guns in Minecraft PE apk 2.5 for Android. Gun Mod adds 50+ weapons to Minecraft PE. Works on latest MCPE version.
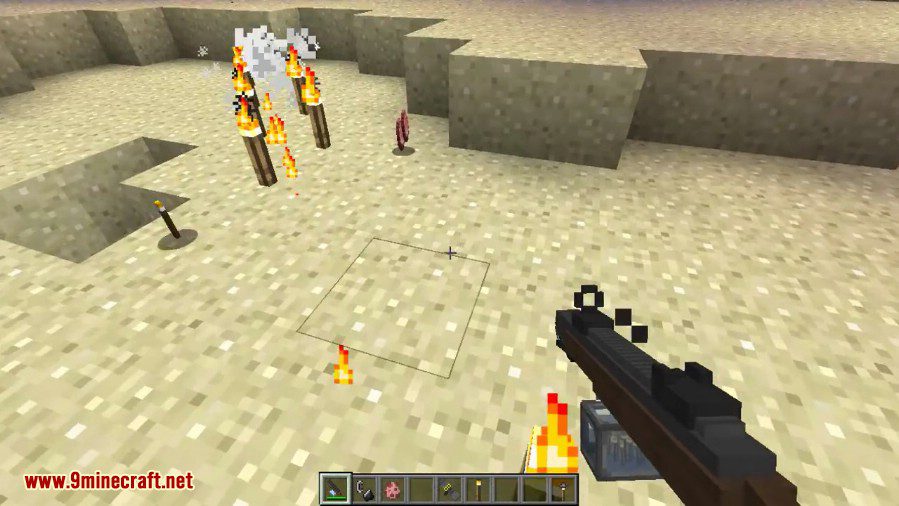
The steps vary from mod to mod, so you'll want to follow the instructions listed on the particular mod you're looking for, but the general technique is the same. I'll walk through installing one mod on Windows: Minecraft user. This mod adds MP40s, bazookas, and the like, to exact vengeance on nefarious hordes of zombies and creepers.
Jamioflan's forum post provides links to the mod proper, along with a few necessary files: ModLoader, AudioMod, and ModLoaderMP. The Minecraft community developed those three tools to enable mods to function properly. You'll also need a compression tool-- or --so grab one of them (I use 7-Zip) if you don't have an app handy already.
First find the 'minecraft.jar' file.  Click the Start button, and type '%appdata% ' into the search window (without quotation marks but with one space before and another after the typed string) to get to Windows' application data folder.
The folder '.minecraft' will be at the top. Open the folder titled 'bin', and look for the file 'minecraft.jar'--this is where the magic happens. When you find it, make a copy of 'minecraft.jar', and stash it somewhere. If something goes wrong, you'll want a clean copy to start over with. Right-click the original minecraft.jar, and open the archive with Win-RAR/7-Zip. You'll see a long list of files in a new window.
Follow the instructions provided by the mod at this point: For the WW2 Guns mod, you'll copy all of the '.class' files from ModLoader, ModloaderMP, AudioMod, and the WW2 Guns mod into the open 'minecraft.jar' archive. The last and most important step: Delete the 'META-INF' folder inside the 'minecraft.jar' file; otherwise, Minecraft will just crash when you start it up. Close the file when you're done. And with that, you're set! This particular mod requires collecting materials, so if you want to see whether it worked, create a new world in Create mode, and spawn a few guns to see them in action. Server Modding Installing mods on the server client is much easier. The first step is to install CraftBukkit and have it running on the server.
The offers instructions, as well as a pair of simple applications that will get you started without any code-wrangling. The first option, involves 'How to Install Bukkit (Newb Friendly)', a simple batch file that will look for any server mods and fire up your server with them enabled. Download this file and then double-click the html shortcut file labeled Latest CraftBukkit Download to get the latest version of the CraftBukkit Java executable.

Stick that and the CraftBukkit Starter.bat file you've already downloaded into your Minecraft server, and double-click the batch file. It will open a console window, create a fresh world (or tap into yours), and start your server. The second option is a bit more robust.
ImminentFate's CraftBukkit Installer is a Windows-only application that you'll need to install on your PC. Once it's running, the app will list all of the plug-ins that it finds. CraftBukkit Installer is definitely the more user-friendly of the two options, with a clean interface and neat features, including managing worlds and attempting to automatically update all of the plug-ins you're using. Whichever option you choose, installing mods is simple: Download one, and dump it into the 'plugins' folder that either app creates.
Finding Mods Now you just need to find these mods I keep talking about. The is a good place to start looking, if you just want to browse new, popular additions to your experience.